Preparation
Before you start, you need to setup the environment for this workshop.
Open the AWS Cloud9 Environment
The Cloud9 workspace should be built by an IAM user with Administrator privileges, not the root account user. Please ensure you are logged in as an IAM user, not the root account user.
Ad blockers, javascript disablers, and tracking blockers should be disabled for the Cloud9 domain, or connecting to the workspace might be impacted. Cloud9 requires third-party-cookies. You can whitelist the specific domains.
Getting the Console Link
For re:invent, you will receive an account to execute the labs.
Click here to get the link.
Launch AWS Cloud9 in your Closest Region
The Cloud9 environment will simplify the execution of different steps on this workshop. Available regions:
To launch the environment, after opening one of the URLs above, follow the instructions:
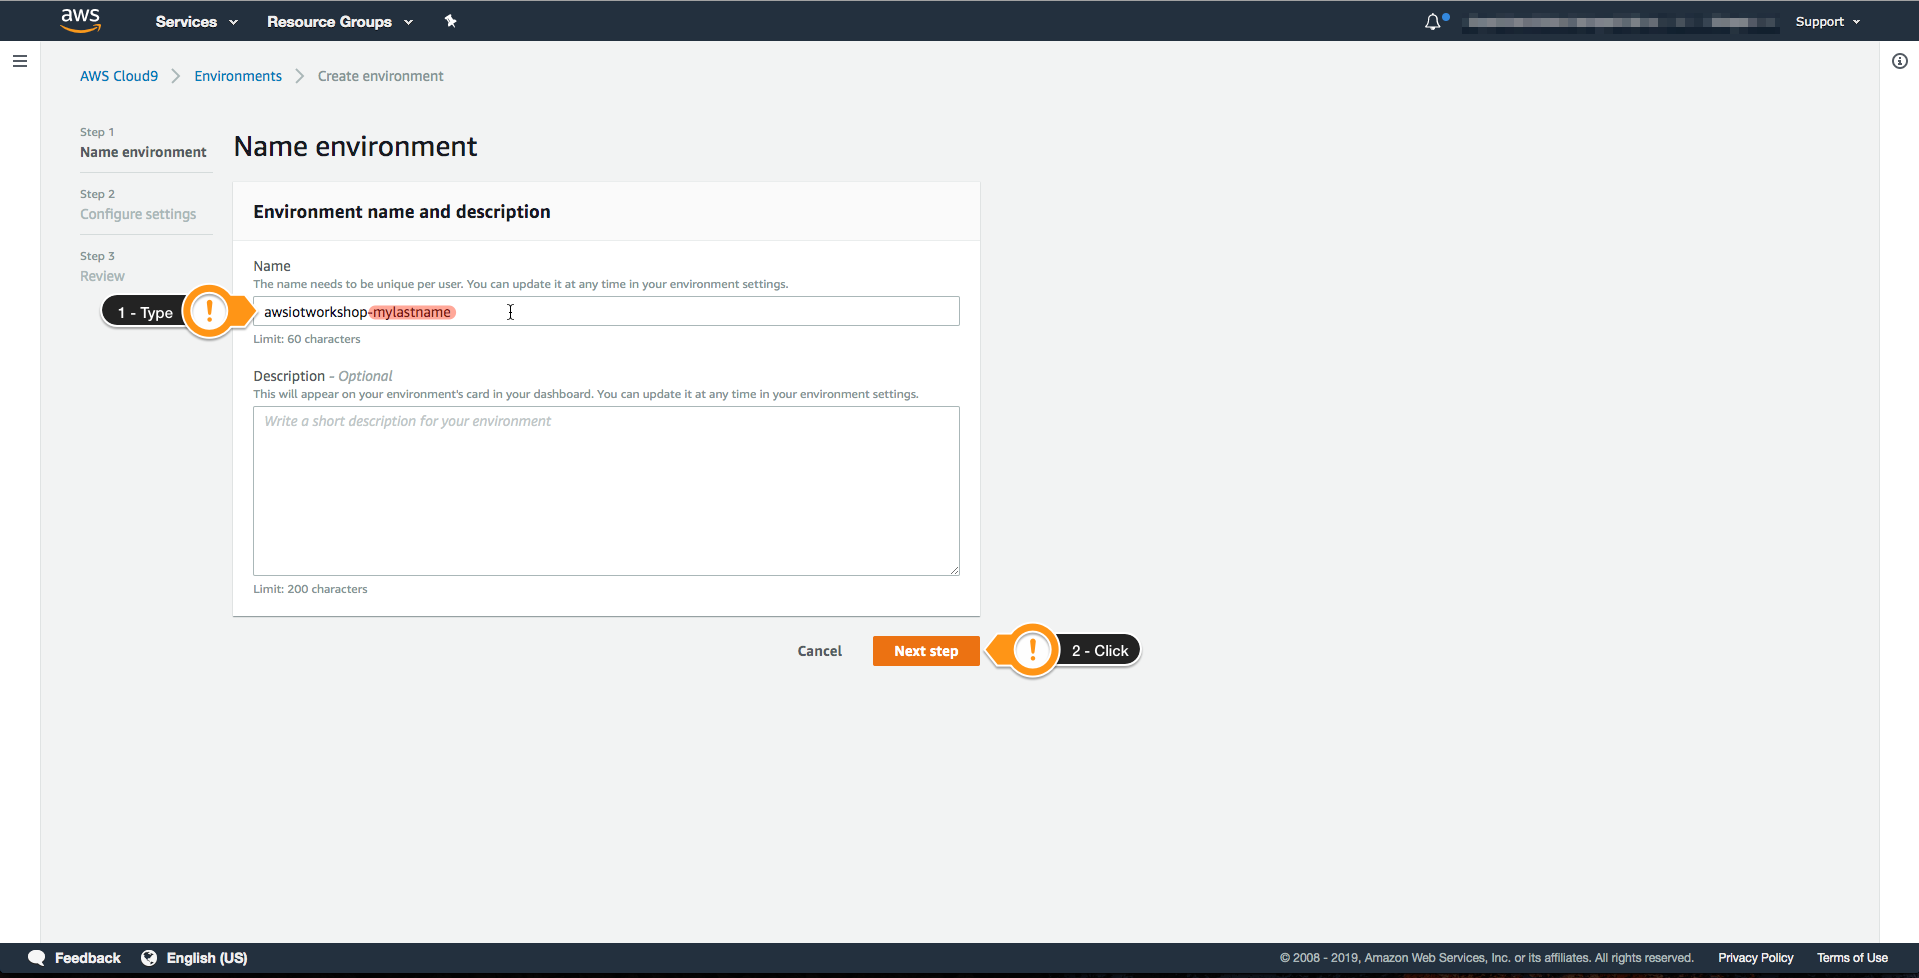
- Select Create environment

- Name it awsiotworkshop-<your last name>
- Choose Next step
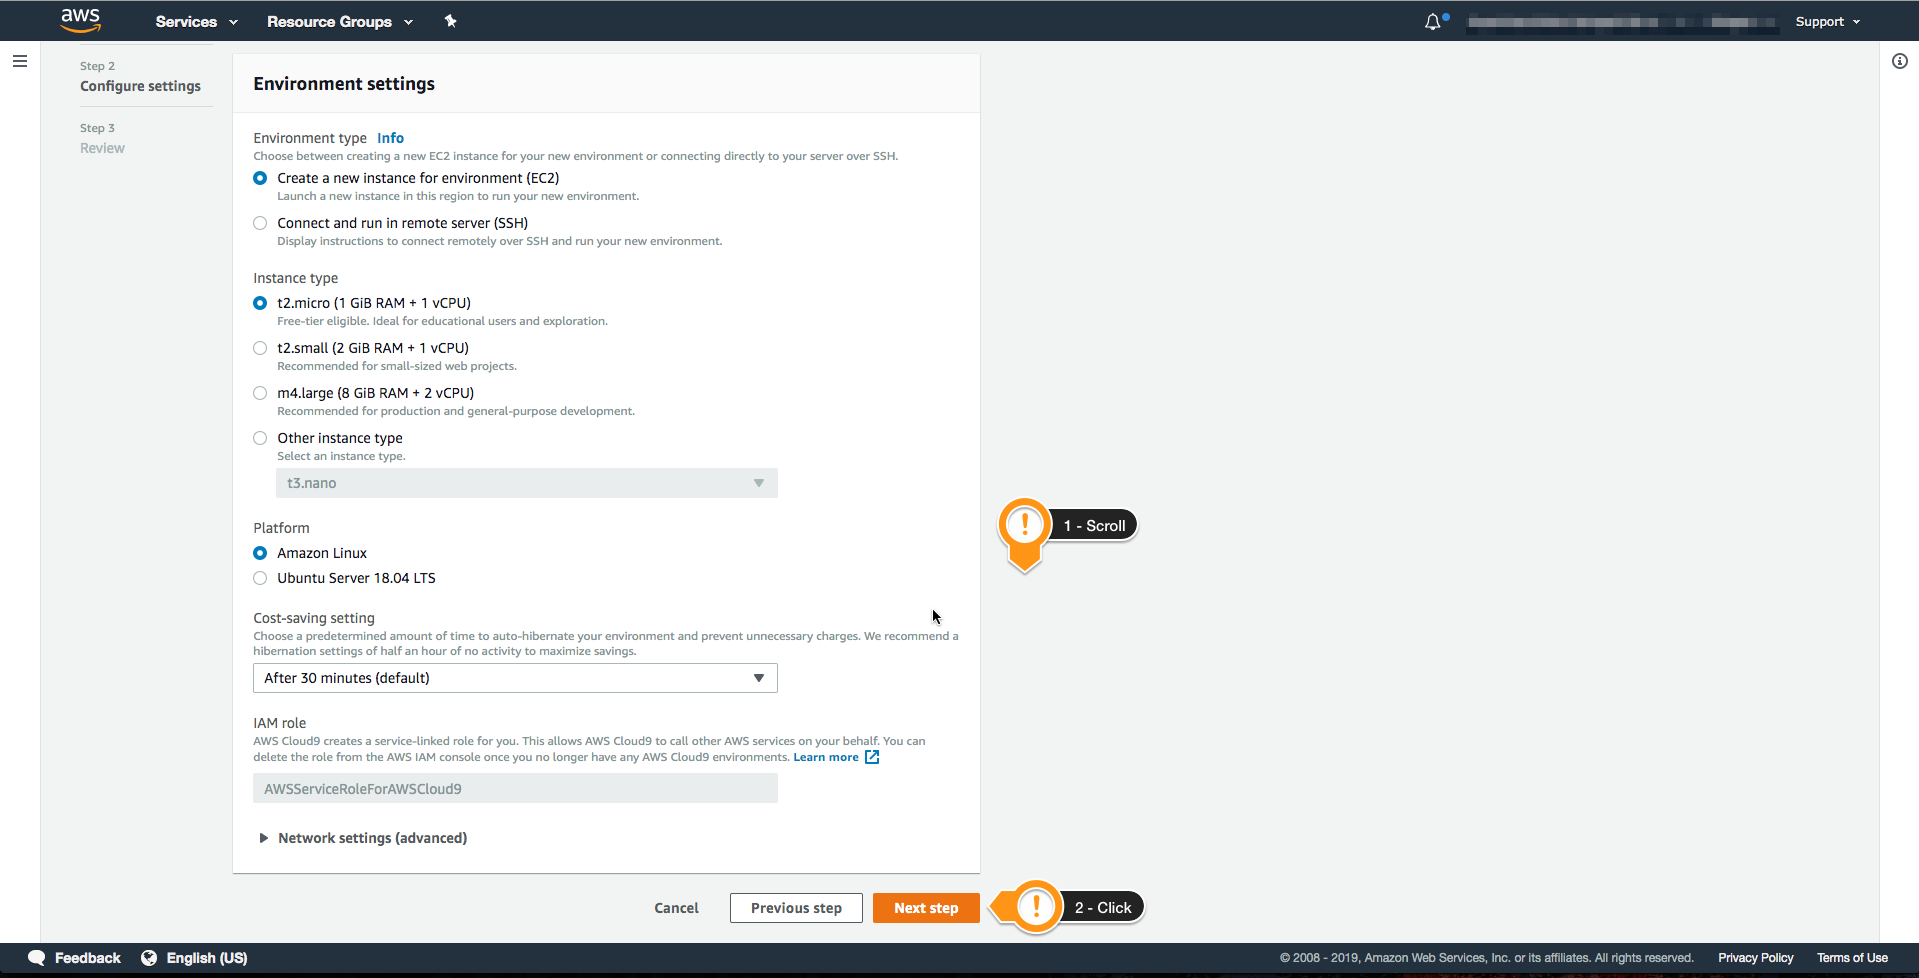
- Scroll down to find the button, you will use the default configuration
- Choose Next step
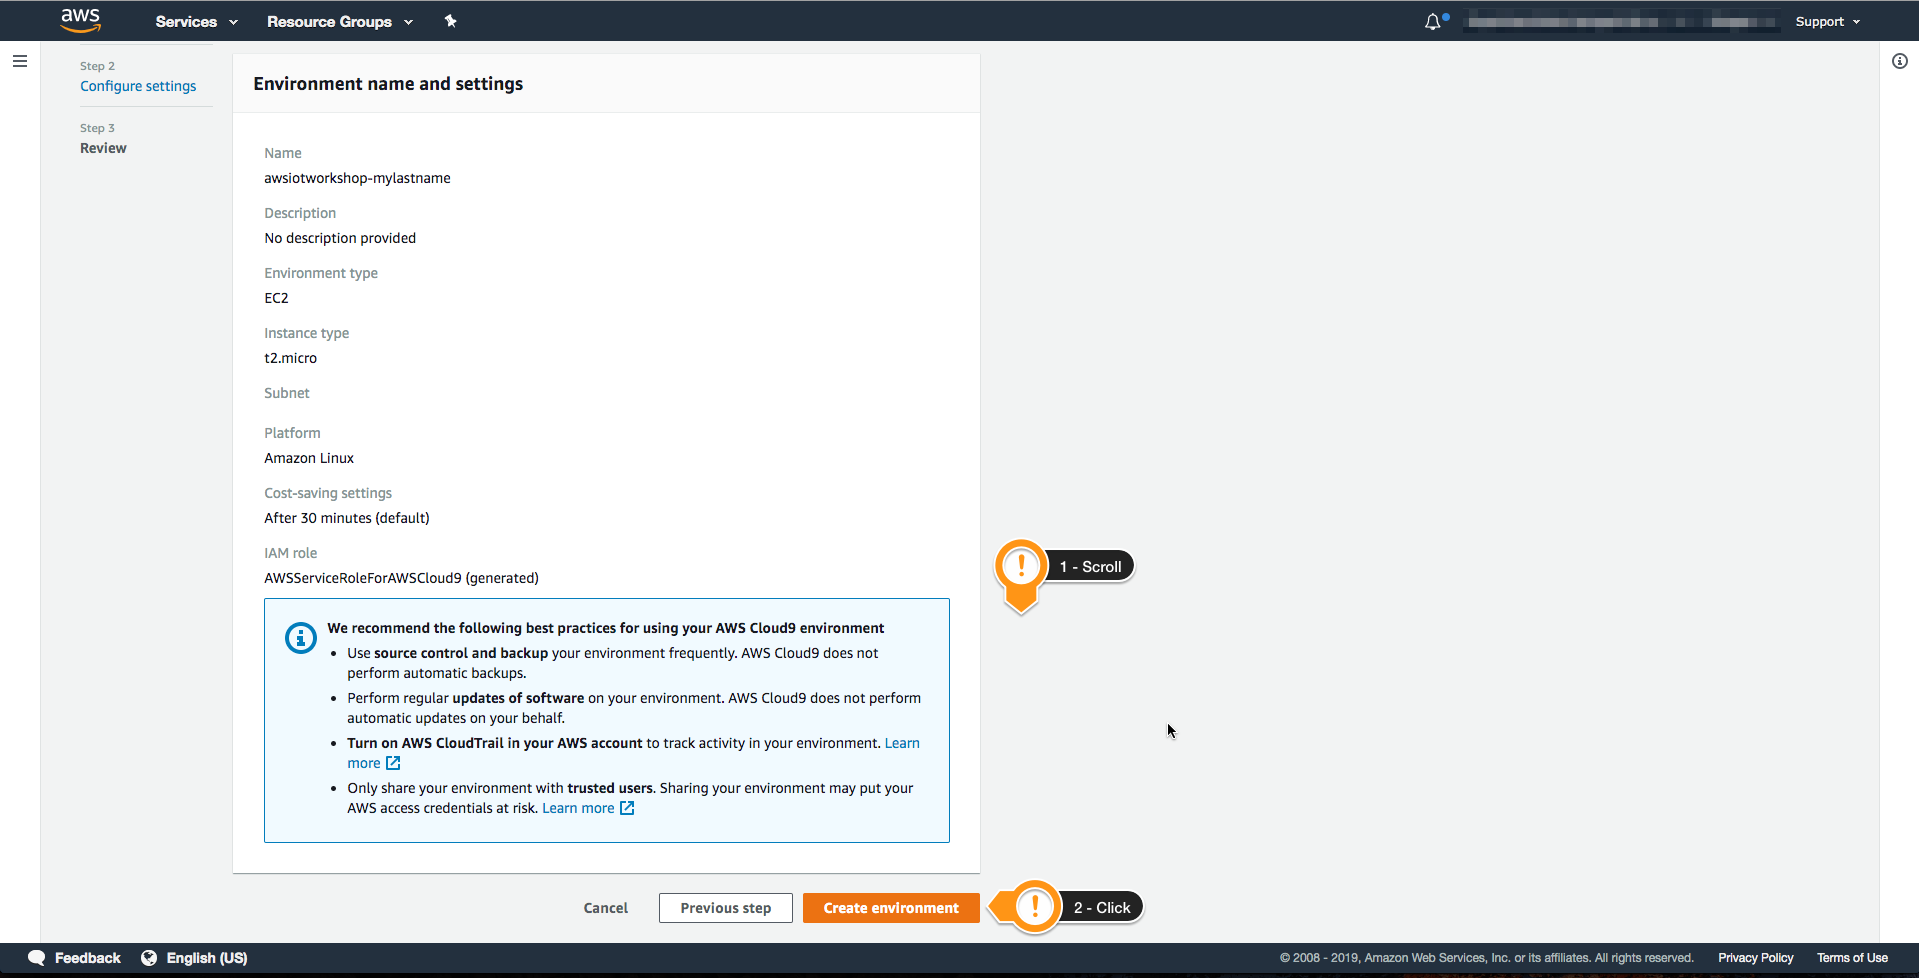
- Scroll down to find the button
- Choose Create environment
You launched a new Cloud9 environment to do this workshop. It may take a few minutes before the environment is ready.
Set up Cloud9 Environment
When it comes up, customize the environment
- Close the Welcome tab
- Open a new terminal tab in the main work area
- Close lower work area
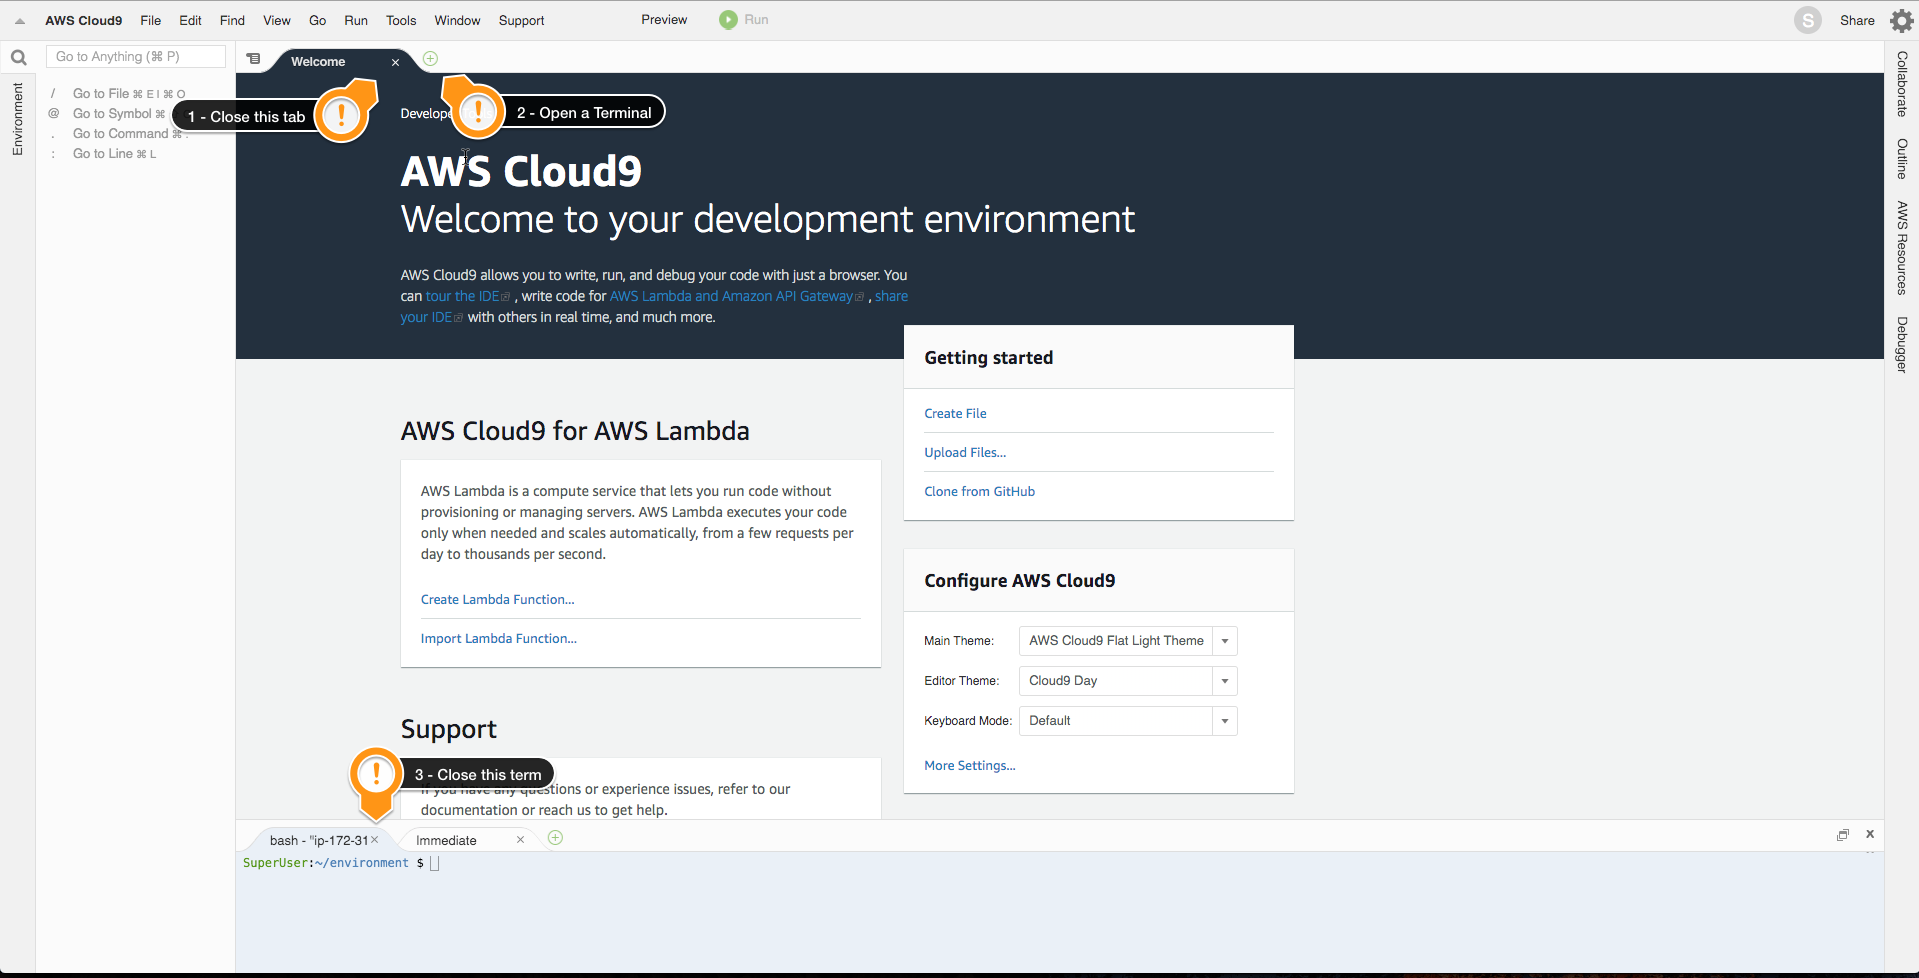
Your workspace should now look like this
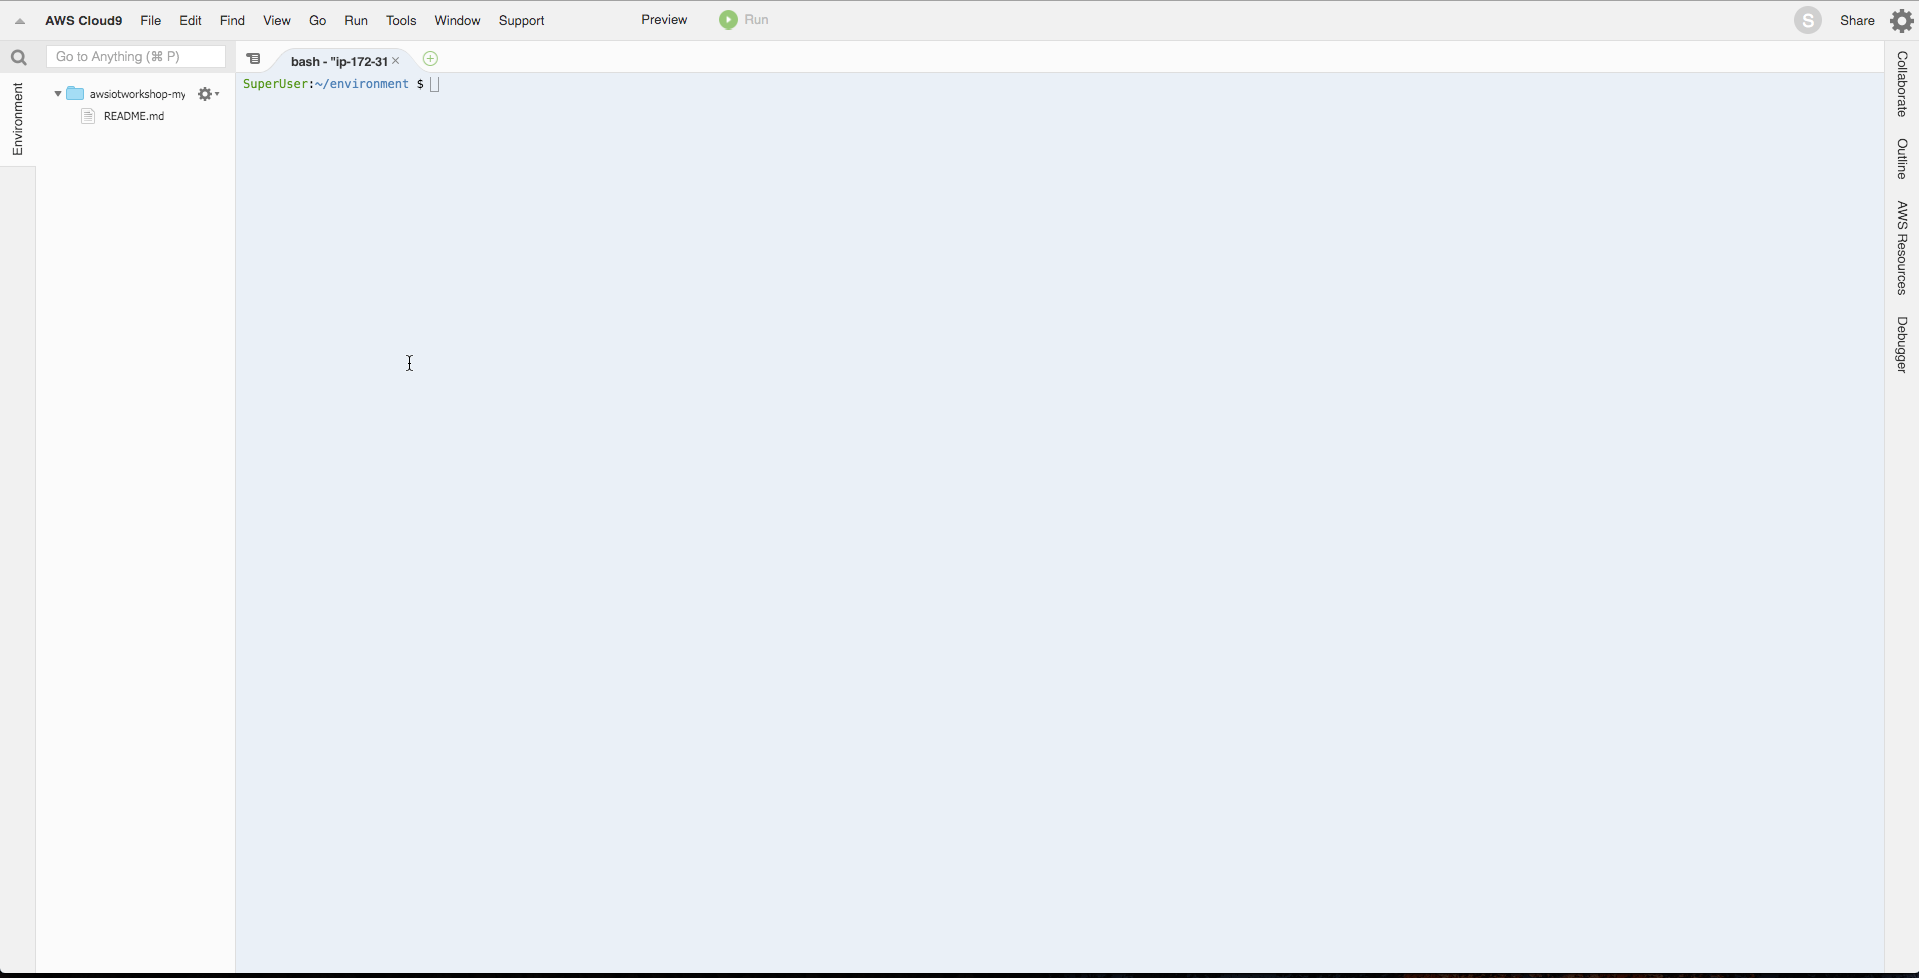
You can choose a different theme by selecting View / Themes in the Cloud9 workspace menu.
Clone the Repository
You need to create a few resources which will be used during the workshop. To create them, you will use CDK, an easy way to provision resources on your account. Follow the instructions below to complete the set up.
- Go to the Cloud9 terminal
- Clone the workshop github repository
git clone https://github.com/reisjr/aws-iot-playground.git
Deploy the Container for Virtual Devices
- Go to the root directory of the repository
cd ~/environment/aws-iot-playground
- Install jq
$ sudo yum install -y jq
- Push the sample code to the pipeline ** WARNING: the push command requires the resources specified in the CDK step to be already created!
$ export AWS_DEFAULT_REGION=<region-you-chose>
$ ./scripts/push.sh
Conclusion
Optional: Launch the CDK
- Go to the cloned repository CDK directory
cd ~/environment/aws-iot-playground
- Install the Cloud Development Kit - CDK requirements
sudo pip-3.6 install -r requirements.txt
- Deploy the CDK stack
$ make create-cdk-env
$ make deploy-stack