IoT Jobs and Dynamic Groups


Applying proactive maintenance actions Your Fleet
Your support team reported that some of the smart air conditioning devices are behaving incorrectly, showing signs of high vibration coming from its sensors reads, which could point out imminent equipment failure. They are planning an emergency maintenance, however this could take sometime and it would be great to remotely activate the powersave mode on the devices. This powersave mode reduces the effectiveness of the smart A/C, but increases the lifetime of the A/C compressor, which could give some precious time for your field technicians to handle the service orders.
As you already executed in the previous section, AWS IoT Jobs can help you to send the remote action to activate the powersave mode. However, you still don´t know how many devices has high vibration reads and even worse: How many will have this problem in a the future.
That´s where Dynamic Groups comes into play. Dynamic thing groups update group membership through search queries. Using dynamic thing groups, you can change the way you interact with things depending on their connectivity, registry, or shadow data. They are tied to your fleet indexing, so when you specify it as a target for a job, only things that meet the criteria that define the dynamic thing group query, will perform the job.
Create a dynamic group to monitor high vibration devices
Go back to the Cloud9 tab opened previously:
- Copy and paste the command is below into the Cloud9 terminal:
  groupARN=$(aws iot create-dynamic-thing-group --thing-group-name HighVibration --query-string 'shadow.reported.vibration > 100'| jq -r .thingGroupArn) &&\
  echo "groupARN=${groupARN}"
Send the powersave job to the dynamic group
For the purpose of this lab, we are going to use the following job document, which is inside the scripts folder on your Cloud9 IDE:
{
    "powersave":"powersave",
}
At first, this looks like a simple document, but your Python code inside the virtual device knows how to parse it and it will increase the temperature in some degrees, and it will update the shadow document with the new powersave state.
Go back to the Cloud9 tab opened previously:
- Make sure your are in the right directory by copy and paste the command below into the Cloud9 terminal
cd ~/environment/IoTRepository/
- Copy and paste the command is below into the Cloud9 terminal:
aws iot create-job \
    --job-id TurnPowerSaveMode2 \
    --targets $groupARN \
    --document file://scripts/job2_config.json \
    --description "My HighVibration Job" \
    --target-selection CONTINUOUS \
- Hit Enter
Monitoring the job execution
You can use the Fleet Dashboard to get an overview of your current fleet and see the devices provisioned on your account.
-
Open the Fleet Dashboard tab opened previously.
After opening the Fleet Dashboard, you see all the current devices provisioned on your account.
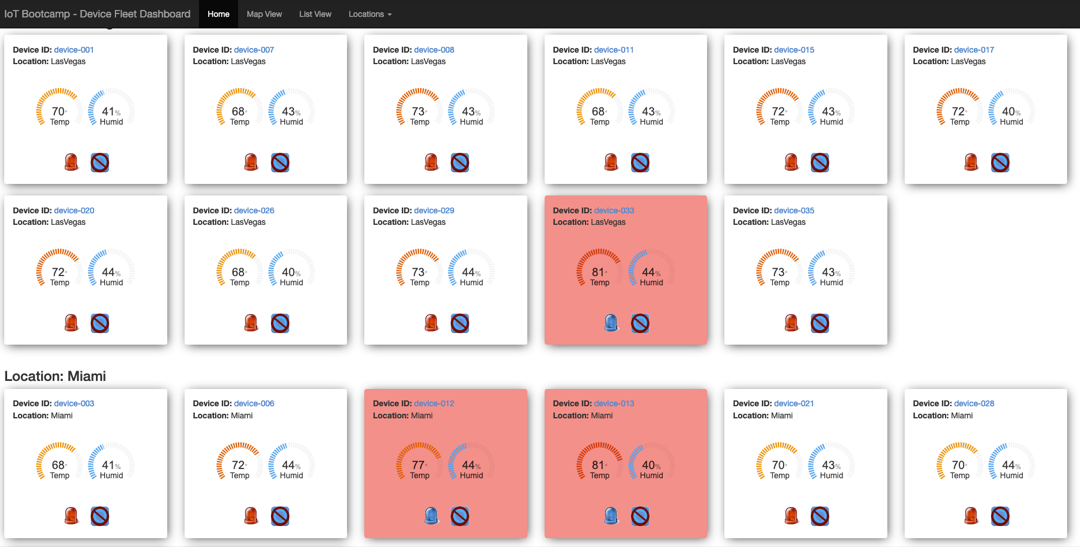
Notice the 5 devices with the powersave mode on are identified in RED.
Conclusion
Congratulations! You have run successfully a job and monitored its execution until its completion.